Cutting Away the Toxicity!
A Photo Still Short Film narrated & produced by Byron Locke
Thesis:
For Thesis IV class, I learned how to THINK, PLAN, and CONVEY. This thesis project challenged and broadened my understanding of what it means to be a designer. I had to identify an area of interest investigate it using design as the vehicle to present my findings. For my thesis proposal I wanted to address an experience that was personal to me that would help shape the perspective on the environment within the barbershop when it comes to the toxic environment.
A Deeper Look:
As a child , I loved getting haircuts and getting one has always made me feel like a brand new person and just puts me in a good mood, it typically does for most men when they leave the barbershop .One of the major anxieties I use to have growing up as a kid was getting a haircut, it’s actually very common within the Gay the community for kids, specially gay males to develop anxiety from going to the barbershop , most of it due to the barbershop being such a toxic masculine environment. The conversations of sexualizing women and the homophobia runs rampant in barbershops. Now that am older and a grown man most of that anxiety has gone away, but I still have some form of anxiety till this day. If my barber that I feel comfortable with is not at the barbershop I may hold out from going to the barbershop and getting a cut until he comes back. I also don’t like going to other barbershops for the simple fact of the anxieties that may come back being at a new barbershop. I been with the same barber for over 7 years, and I feel comfortable enough to have conversations about my dating life. A lot of gay guys feel like they must put on this facade and code switch to appear “Not Gay “and be as feminine when going to barbershops and that is something I want to touch on and show people that perspective.
Design Proposal:
I am creating a still image short film using photos I took with my phone at the barbershop currently go too. The digital photomontage will be a walk through in my head and thoughts of what I experience being a queer black man within a barbershop. The story will tell of the barbershop that breathes toxic masculinity. There will a narrative voice over of me vocalizing the thoughts and anxieties that run through my head as the photos appear in my film.
The Steps:
Step 1: The Storyboard
The first step to producing my short film is creating a story board. After watching La Jetée, a photo still film for inspiration, due to the fact this was my first time creating a film Soley based on photos, I printed out large story board templates. I began to think to myself how would the story start and end using photos mostly taken at my barbershop.
I thought about situations or toxic moments I had experienced in the barbershop as a kid and even as a young adult. I drew these scenes and moments out on the story board template. I made sure to get quick sketches of different angles of what could possibly be shown in my film. To help me make sure the toxicity I shown in my film resonated with other queer men, I did further research on this tough topic and found forums and short films centered around this topic.
Step 2 : Barbershop Photos
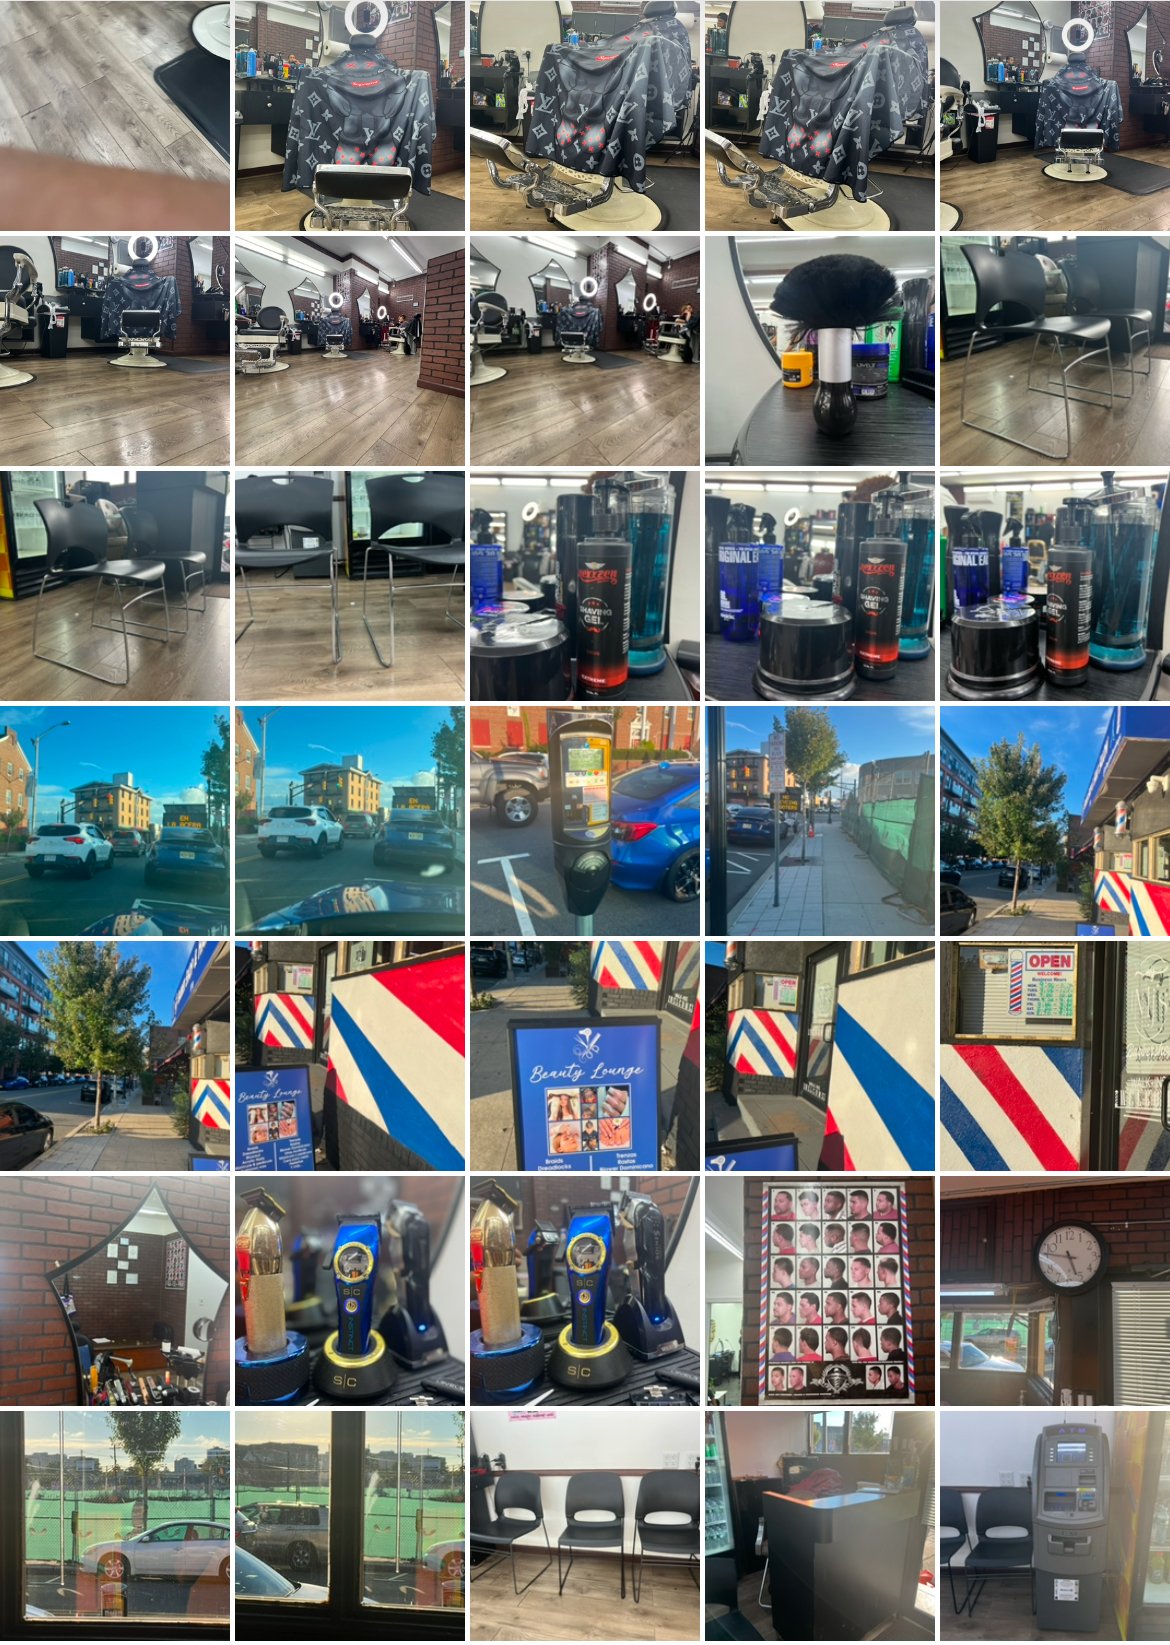
The Next step is going to the barbershop, with permission of my barber I spent two days at the barbershop taking so many pictures of different items in the barbershop like the chair, the sink, clippers, Television, Haircut Chart, Price List, and even took pictures of a client that was in my barber’s chair getting cut. I took photos of many things at every angle possible so I could a copious supply of photos. I had some of the other barbers take pictures of me and painted nails.
I came back a few days later to take more pictures at more angles. I had about 200 photos in my phone. Next I created a folder for specifically those photos and named them Thesis Project photos. More ideas popped in my head of what photos I could use for my project.
Step 3 : IMovie to create Timeline
The photos I took on my phone, I uploaded to my MAC and placed them in iMovie, which is an application where you can create videos and edit them too. I created a sequence based on the storyboard I had created in the beginning. I wanted to get a gist of how it would possibly look. The beginning of my timeline looked to start off excellent.
Step 4 : Create Script
Once I was Fastly created a different sequence of photos that was based on my storyboard, I needed a script to go along with the film. I typed a script that followed that storyboard and had traces of my personality in it. I wanted the script to be thoughts that would pop in my head while I was getting a haircut at these toxic barbershops. I didn’t want too much narration, but I also wanted enough for the audience to really understand what I was trying to convey and the anxieties I had during these specific times. At the end I added details to each narration segment.
Step 5 : Narration recorded with iPhone
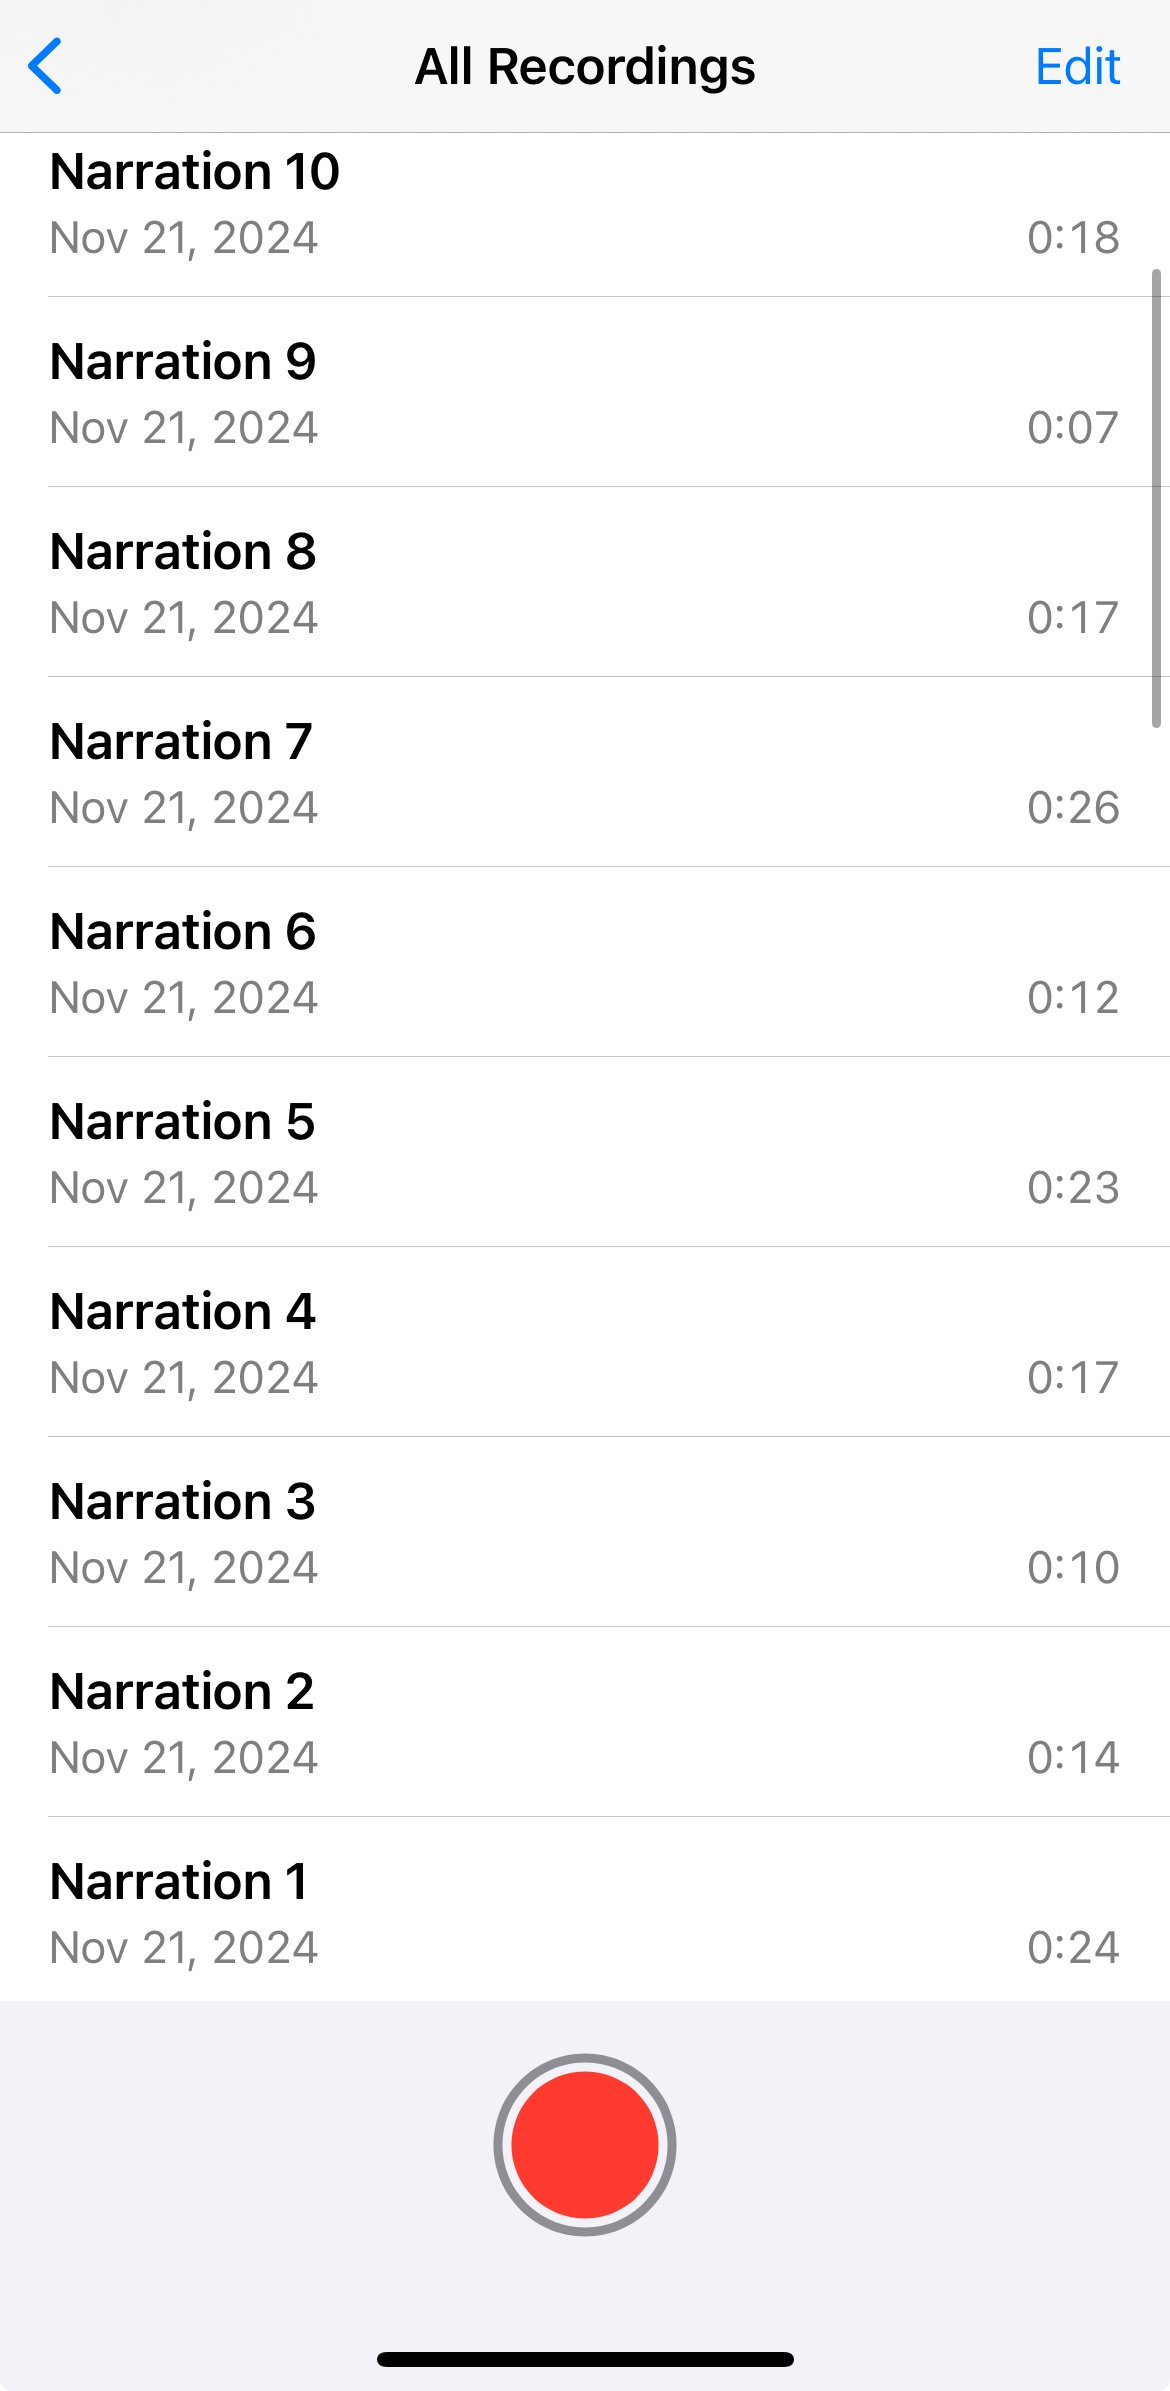
As soon as the script was completed it was time to record the narration. I used my phone to record the narration multiple times. Sometimes the voice recordings were thoughts that I had in my head and then I would go back to recording the script. Some of the voice recordings would sound clear and others would not sound clear and have a lot of noise in the back. This process helped to cut words that weren’t needed or add words that would help my narration sound better and coherent.
Step 6 : Photoshop photos into Grayscale
The next part of the process was of my favorite steps to completing my short film was editing my photos. I wanted my film to be cohesive, so I made my photos grayscale and played with the levels and curves in photoshop for the white and black tones of the photos to blend well. Once I found the correct specifications for the photos color gamete to have the perfect grayscale, I applied it to all the other photos. The photos that were used towards the end of my film expressed me overcoming the anxieties and toxicities I faced going to the barbershop, so I had a grayscale background and the important parts of the image in regular color scale, I also used photoshop to edit these photos. I also find a Video Clip that I used in the beginning of my video as well as stock image that was also used in the beginning.
Step 7 : Convert MP4 sounds into MP3 Sounds
When I was done incorporating the narrations into film. I used a converter site to convert the little sounds like the heart beating sound and background music from MP4 to MP3. Once converted I intentionally placed them in the correct position on my timeline.
Step 8 : Used a Shure SM48-LC to record
The video being nearly finished I shared it to the class and my friends and even watched it on the multiple different television screens, I realized the audio could be clearer and be edited more efficiently, thus I used a professional recording mic called The Shure SM48-LC to record my narrations from my script. The settings of the microphone linked to the microphone had specifications that were set for a professional recording session. The narration came out very prodigious and grand.
Step 9 : Used CapCut for Closed Captions
The last step was using the app called Cap cut to transcribe my narrations into text for closed captions. The application did a good job, but some words wasn’t right maybe due to not being recognized. I had to go and change some of the words that the application got wrong or didn’t pick up.


